Once you have all your components you’re ready to build! You’ll also need a screwdriver and a flashlight is helpful when working in a small space.
First, you need to test that all your components are in working order. To do this, you’ll need to grab all the components but the case.
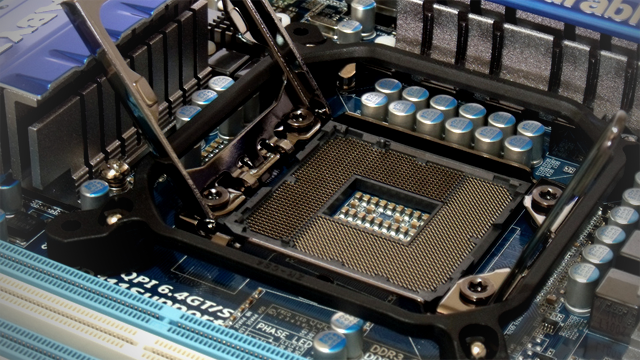
1: Place the CPU into the socket in the center of the board, you’ll have to undo any latch and lift up on the holder to open the socket. Then carefully place the CPU onto the socket. There is a gold corner on the CPU that should be matched up on the marked corner of the socket on the board. DO NOT press down on the CPU, it should fall into place. Pressing down could cause irreversible damage to the chip or the socket. Once it is in, close the lid and relatch it to the board.
2: Next, take the RAM and place it into the DIMM sockets on the board these are usually next to the CPU socket on the motherboard
